Mostrando entradas con la etiqueta get ready with me. Mostrar todas las entradas

miércoles, 19 de marzo de 2014

Get Ready With Me!

Hola a todos!

Que tal va la semana? Espero que muy bien, y que este calor repentino no os este molestando mucho (la verdad es que yo estoy muerta con la alergia por este maravilloso tiempo primaveral que no tiene razón de ser xD). Hoy os vengo con un look que suelo usar mucho, para mi de lo mas socorrido, pero con un toque de color y eyeliner un poco dramático. Podría decirse que tiene un toque "Pin Up" pero para mi no acaba de serlo del todo.

Empezamos!

He usado la Face And Body de MAC en el tono C1 y de corrector el HD de Nyx. Para aplicar la base he utilizado la brocha F80 de Sigma y para el corrector una esponjilla similar al Beauty Blender.


Para fijar la base, Collection Pressed Powder (que se me cayó y está destrozado en cachitos, pero aun sirve perfectamente!) en el tono 18 Ivory y la brocha 15BJF de Inglot. De iluminador en la mejilla, el Prime and Fine de Catrice, con la brocha Setting Brush de Real Techniques. De colorete, Stay by Me de MAC (colección Pro Longwear) y la brocha de Burlesque.


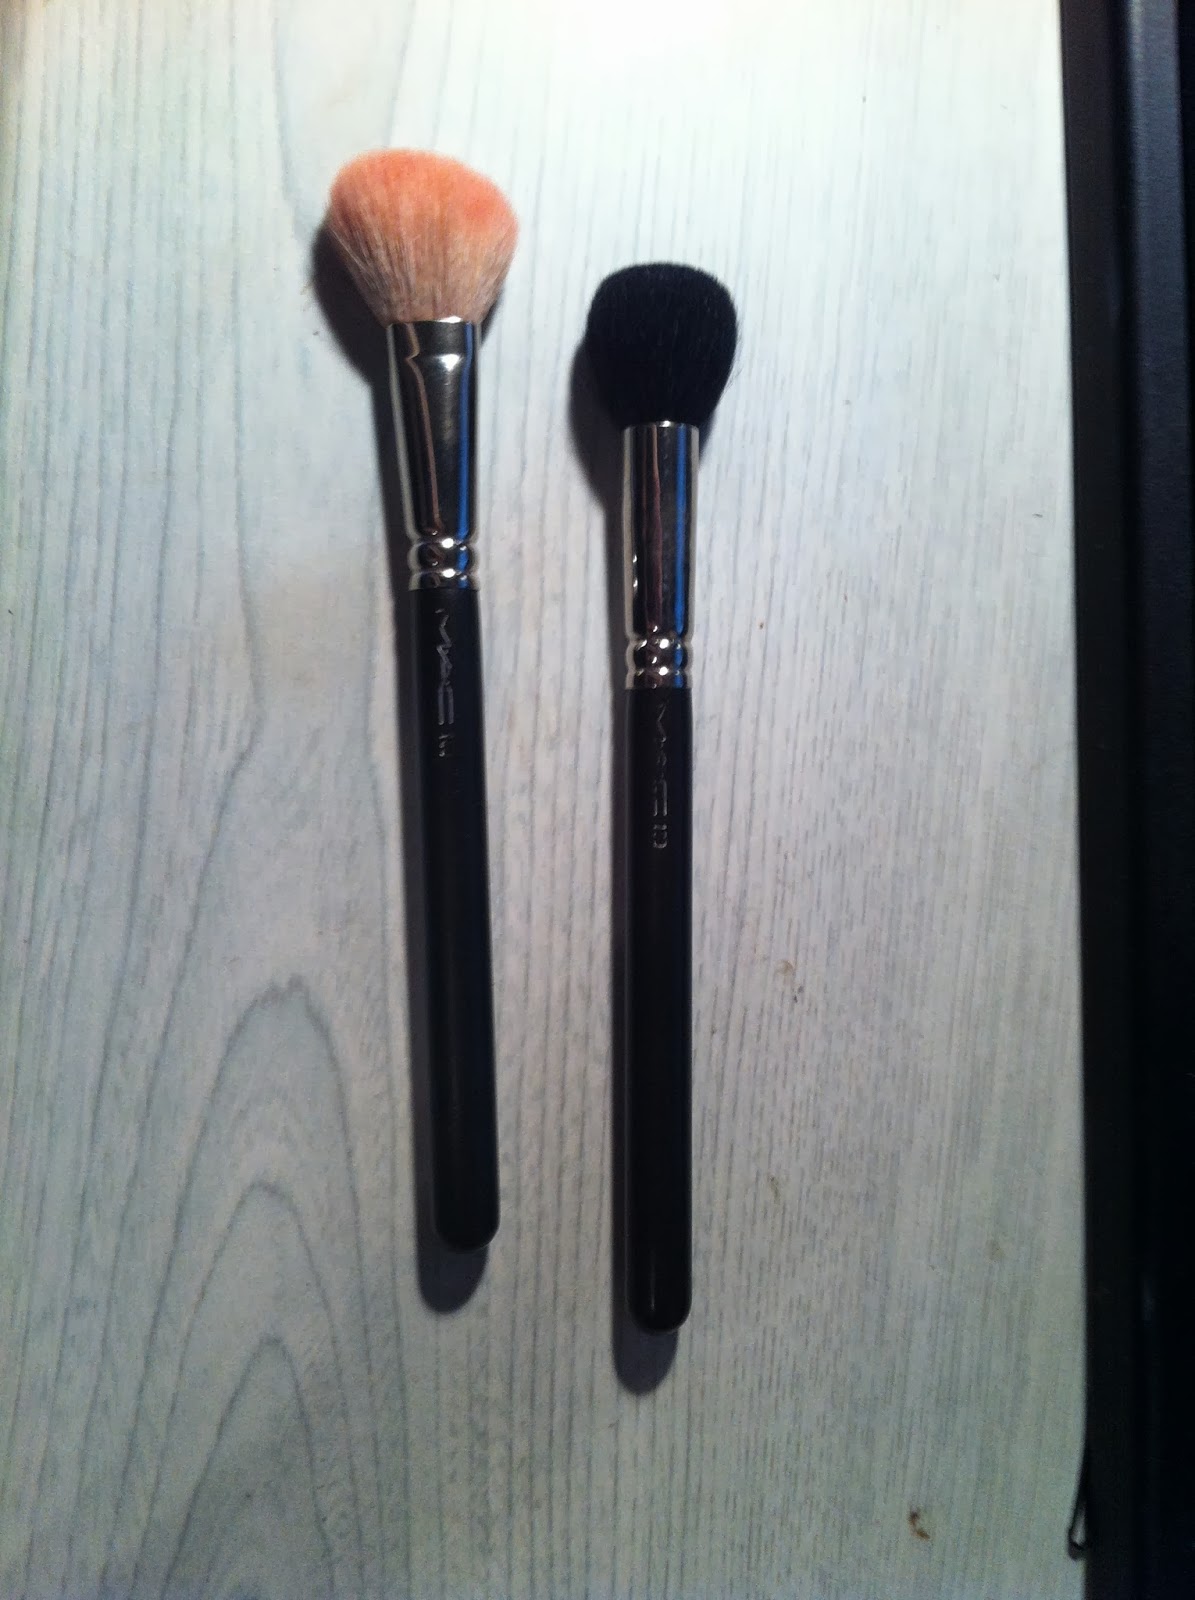
Como base en los ojos experimente un poco, sinceramente. Siempre suelo usar paintpot, pero esta vez apliqué el correcto de Nyx y lo fijé con los mismos polvos compactos que usé en el resto de la cara. Después, apliqué el color Naked con la brocha 239 de MAC en todo el párpado. Marqué la cuenca con el color DarkHorse y la brocha 213. Con el tono Virgin iluminé debajo de la ceja y en el lagrimal, y debajo de las pestañas inferiores apliqué el color Smog para dar profundidad. Usé el eyeliner de Maybelline en gel y la brocha 264 para delinear. Mis cejas las hice como siempre, la sombra es Concrete y la brocha recta que podéis ver en la foto, la 212. La brocha roja que podéis ver también, la usé para difuminar cualquier trazo que pudiera quedar (es la #10 de Smashbox). Apliqué un par de capas de máscara de pestañas y los ojos están terminados.


Para terminar, en los labios utilicé el delineador Cherry (que se ha convertido en uno de mis favoritos ahora mismo) y mezclé dos tonos de labiales, Lady Danger (rojo anaranjado) y So Chaud (un tono naranja con base roja). Como ambos son acabado mate, no hay que preocuparse por matificarlo ni nada.


Y este es el look final, espero que os guste!


(solo es media cara, porque he sido tan original de no hacerme una foto en condiciones... Así soy, que se le va a hacer jajajaja)


Nos leemos pronto!
Lor.
PD: en breves os tendré un post dedicado a la paleta Naked 3, que ya está en mis manos!

-----------------------------------------------

Hello everyone!
How are you? Hope the week is going well, and you don´t have this horrible weather that we have here in Spain (from extremely warm to cold in just one day) that is getting crazy everybody.

Today I am here with a very simple look, but as always with a pop of color. I wanted red/orange lips for today, and this is the result. Hope you like it!

Let´s get started:

For the face I applied Face and Body (by MAC, shade C1) with the F80 Sigma brush. As concealer, HD from Nyx and my fake Beauty Blender.

To set everything in place, Collection Pressed Powder in 18 Ivory and the 15BJF brush by Inglot. And the highlighting on my cheeks was Catrice Prime and Fine applied with the Setting brush from Real Techniques. For blush, Stay by Me from MAC and the brush from Burlesque.

On my eyes, as a primer I used the Nyx concealer and set it with the Collection Powder (just to try if it works too as a primer). I put the color Naked all over my lid with a 239 brush. On my crease, I used the color DarkHorse and the brush 213. For highlighter in my brow I put a little of the color Virgin and also on my tear duct. Under my lower lashes I put Smog to give to the look a little bit of depth. Then I lined my eyes with the Maybelline Gel Liner and a 264 brush. All the brushes are from MAC, excepting the one that I used to blend any harsh line, that is #10 by Smashbox. And of course, mascara and my eyebrows with the 212 brush and the eyeshadow Concrete.

For the lips, Cherry lip liner and a mix of Lady Danger and So Chaud. The result is a very bright orange color (and I loved it so much!)

All the photos, above.

Hope you like the look, and I will see you soon!
Lor.
PS: Soon I will have a post dedicated to the Naked 3 =), finally I got it!

sábado, 16 de noviembre de 2013

Get ready with me: simple eyes and bold lip!

Hi everyone!

I am a huge fan of simple looks for normal days, so I´m going to show you how I did my makeup yesterday. My go to look, usually is a soft smoky eye and bold lips, so here´s how I did it:

First, don´t forget to prep your skin, I apply my usual moisturizer cream and eye contour cream, both by mac.And don´t forget to apply some lipbalm on your lips!


After your skin absorved all the cream, it´s time for foundation. This time I mixed two: Make Up For Ever HD in #125 and Illamasqua Skin Base in shade SB 02. The MUFE one is so dark for my skin now, and the Illamasqua one has my skin color, but because right now I ran out of facial primer I can´t use it by itself, I mixed this two to get a good match for my skin. Then, I applied my concealer by Illamasqua in CC 115. I set my foundation with Studio Careblend powder in Light and my concealer with the Banana powder by Ben Nye. (I will have soon a post in this two last products, I want to test them a little more to share with you my impressions).


For my eyebrows, usual routine: Concrete eyeshadow and my 208 brush.


On the eyes I used some Painterly Paint Pot (a sample that I got the other day) and applied Copperplate all over the lid.Then, I blended the edges, and applied Ground Brown on my lash line and lower lash line. For the water line, some Teddy eye khol. I curled my lashes and apply two coats of my new mascara, In Extreme Dimension 3D Black Lash (what a long name!). For highlight my eyebrow I used Brulé, so similar to my skin color, but I didn´t want nothing so shiny for this look.


For the cheeks, some contour with Harmony and some light blush in Stay by Me (my favourite right now, I use this all the time). For highlighter, Catrice Prime and Fine in Fairy Dust.


On my lips, I used a lipmix in Fuchsia. It looks amazing, and last a veeeery long time.


I know it seems a super long look to do, but is just like 15 minutes or so to do it.


In the photos appear the brushes that I used for every product, just in case you want to know.

Hope you like it, and I will see you on the next post!
Lor.

------------------------------------------

Hola a todos!

La verdad es que para días normales, soy muy fan de looks muy simples. Y ayer tuve un día de look simple (para lo que puedo llegar a ser yo jajaja) y os voy a enseñar como realicé el maquillaje. Normalmente, para hacer estos looks simples, suelo hacer un ojo ahumado en tonos neutrales, muy discreto. Y siempre me gusta aportar una nota de color con algún color potente de labial.

Vamos a ello.

Primero, como siempre, apliqué mi hidratante y mi contorno de ojos para preparar la piel para el maquillaje. Y no os olvideis de aplicar un poquito de vaselina o bálsamo en los labios tambien! Ambas cremas son de MAC (por desgracia para mi bolsillo, la primera vez en mucho tiempo que una crema no me da reaccion alérgica) y el bálsamo labial es de EOS (un regalo de cumpleaños =D)

Después de que la piel haya absorbido la crema, es el momento de aplicar la base. Esta vez, tenía ganas de cambiar de base, asi que mezclé Make Up Forever HD en el tono #125 con la base de Illamasqua Skin Base en el tono SB 02. La base de MUFE es un poco oscura para mi, y la de Illamasqua, sin prebase, no se queda bien (y aun ando en busqueda de un primer facial que me acabe de convencer, porque adoro esta base de Illamasqua) y mezclándolas di con un buen tono para mi piel. Como corrector, usé uno de Illamasqua, en el tono CC 115. Para fijar la base usé Studio Careblend de MAC en el tono Light y para fijar el corrector, Banana de Ben Nye. (Dentro de poco tendré preparados reviews de estos dos últimos productos, me los han regalado y aún ando investigándolos para poderos hacer un post con todo detalle)

Las cejas, como siempre (es raro que use otra cosa, la verdad) sombra Concrete y la brocha 208.

Para los ojos, usé de base un Paint Pot (una muestra que me dieron el otro dia, y me esta encantando!) en el tono Painterly. Para la sombra, usé una de mis favoritas ahora mismo, Copperplate, por todo el párpado y después difuminé los bordes. Apliqué un poquito de la sombra Ground Brown en la línea de pestañas superior para dar profundidad y otro poquito en la línea inferior de pestañas. Para delineación interna usé Teddy. Un par de capas de máscara de pestañas (otra cosita nueva, que me está gustando mucho! es la In Extreme Dimension 3D Black Lash, la máscara de nombre eterno XD) y para iluminar un poquito la ceja, usé un tono mate, Brulé.

En las mejillas realicé un poco de contorno con Harmony, y un toque ligero de colorete en Stay By Me (uno de mis favoritos del momento también, lo uso para casi todos mis looks). De iluminador, usé el Prime And Fine de Catrice en 010 Fairy Dust.

Y en los labios, apliqué un lipmix en Fuchsia. El color es maravilloso, y además dura mucho tiempo sin retocar.

Se que parece un look interminable para hacer, pero en unos 15 minutos esta listo.

Fotos, más arriba, como siempre. Esta vez añado las brochas que usé para cada producto, por si quereis verlas.

Espero que os haya gustado, nos vemos en el próximo post!
Lor.


domingo, 29 de septiembre de 2013

Get Ready With Me!

Hi everyone!

Tody I´m going to make a "Get Ready With Me" post about the makeup that I wear yesterday when I went to the movies with my girlfriends! We saw "Now You See Me..." and it´s amazing!! I recommend you to watch it, you won´t regret it at all.

So, let´s get started!

First, I clean my skin with the "Herbalism" facial mask, later I clean the rests of the mask with my Tea Tree Skin Clearing Facial Wash and apply some Tea Tree Water skin tonic. After  the skin tonic was complete absorved by my skin, I apply my Mineralize Charged Water Moisture Gel and wait for a few minutes until my skin was totally dry and not sticky for applying my makeup.


I did a very simple makeup, you can call it naked o washed face.

First, I applied my Face and Body foundation in C1 with a contour brush from Real Techniques. I used this brush because I like the finish that gave to the foundation on my skin, and because is very gentle and soft. After that, I took my 286 Duo Fibre Blending Brush for applying my Illamasqua Concealer in CC 115 and took my Beauty Blender dupe for a total blending (this concealer is very pale in comparison with the foundation that I used, so I don´t wanted to look like a panda but in white concealer haha!) After all, I set everything with my very used (as you can see) Collection Pressed Podwer in 18 Ivory with my 15BJF Inglot brush (is a blush brush, but I love to use it for podwer)


For the rest of the face I kept it simple, just some light cheek contour using Harmony and my 109 Small Contour Brush by MAC (this brush is one of my favourites ever!) and I use Stunner blush (satin finish) with my 168 Large Angled Contour Brush. For highlight, I put a little bit of Shroom with the 227 Large Fluff Brush on top of the cheeks.


After that I took my 212 Flat Definer Brush and with Concrete eyeshadow, for filling and define my eyebrows.


On the eyes, I apply with my ring finger a bit of Bare Study Painpot, and let it set for a minute. Later, with the lightest eyeshadow of this quad by Kiko (Color Fever Eyeshadow Palette, I got this a long time ago) I applied it all over the lid with my 213 Fluff Brush, blending any harsh line. After that I curled my lashes and put some mascara.


For the lips I used Whirl lipliner by MAC and MUA lipstick in shade 14.

Sorry I can put you a finish look photo, I didn´t take any! But this is one photo with the same look from a while ago, with the exact same products (is one of my favourite looks, as you can see)


Hope you like the post!

See you on the next one,
Lor.

<a href="http://www.bloglovin.com/blog/10847141/?claim=eagdsv2x6cy">Follow my blog with Bloglovin</a>