Mostrando entradas con la etiqueta grimas. Mostrar todas las entradas

lunes, 14 de octubre de 2013

Purple Masquerade

Hi there!

Today I´m going to tell you how I did my Purple Masquerade, a very easy look for Halloween. The only thing you need is time, because it takes a while to do it, but after, the result is totally amazing!

The first thing I did for creating this look was draw the lines of the masquerade with a light blue pencil (you can use any color, but I recommend you to use light colors like white, light blue, because they´re easy to cover later with black) so if you make any mistake, you can easily take it off and start again. You can create any design you want, like, and if you need inspiration, google is a very good source of it!


Later with some black aquacolor by Grimas and my 209 brush by MAC I followed the blue lines, making a thick line. After that, I took some black eyeshadow (Noir) from my Bad Girl palette of Sleek Makeup and started building the color, from the bottom of the masquerade to the top (I used an angled brush by Real Technicques and then a normal eyeshadow brush to apply it). Blended with the black, I put some purple from my Inglot palette, with a clean brush. Make sure all the colors blend together!


Then I put some purple eyeshadow by MUA all over the black line that surrounded the eyes,but not so much. With a big shadow brush I applied some Parfait Amour all over my lid and lower lash line and blend the edges with some Vellum eyeshadow. And for blendin the purple on the edges with Vellum I used Da Bling shadow and a blending brush. I filled my eyebrows with a black pencil.


(purple: Parfait Amour, Pink: Da Bling and White: Vellum)


For the top part of the masquerade I used Parfait Amour and on the end in my forehead, I put Vellum, like a transition from dark to light color.

Probably you will have to put some black again on the lines, so take your brush and later put some black shadow to set the aquacolor. Don´t forget to put some mascara if you´re not using falsies!


You can put if you want rhinestones, glitter, any kind of decoration that you like, but I wanted to make it like a simple option for Halloween.

I hope you like it, see you on the next post!
Lor.

--------------------------------------------------------

Hola a todos!

Hoy os voy a contar como hice la Máscara Veneciana que os enseñé el otro día. Es un look bastante sencillo para Halloween, lo único que necesitáis es un poco de tiempo y paciencia, pero el resultado merece totalmente la pena!

Lo primero que hice, fue con un lápiz azul clarito (cualquier color claro os vale, blanco, un azul como el mío, porque después con el negro que vamos a usar, quedará cubierto) marcar el diseño de la máscara. Y si en algún momento cometes un error, puedes borrarlo sin dejar marca. Podéis crear cualquier diseño que queráis, que os guste... Y si necesitáis algo de inspiración, google siempre viene genial! Yo estuve viendo unas cuantas fotos antes de decidirme mas o menos como hacer el diseño.

Ahora viene la parte mas o menos mas complicada del look. Con aquacolor en negro de Grimas y la brocha 209 de MAC, fui repasando todas las líneas que había dibujado con el lápiz, para ir dando forma a la máscara. Y luego con una brocha sesgada de Real Techniques y sombra negra (de la paleta Bad Girl de Sleek Makeup) fui rellenando la parte inferior de la máscara. Con una brocha grande de sombra y el color morado de mi paleta de Inglot, lo fundí bien con el negro y rellené el espacio que quedaba libre hasta la siguiente línea. Asegurad que los colores estén bien fundidos y no se vea ningún corte brusco de color.

Con una sombra morada de MUA, apliqué el color alrededor de la línea que limitaba los ojos. Y con lápiz negro rellené mis cejas. Con una brocha grande para sombra apliqué por todo el parpado y la línea inferior de pestañas la sombra Parfait Amour y para eliminar cualquier corte, difuminé los bordes con la sombra Vellum. El espacio que quedaba entre el color Vellum y el morado de MUA lo difuminé usando la sombra Da Bling. Delineé la línea interior de pestañas en negro, y puse solo una capa de máscara de pestañas. Podéis usar pestañas postizas si lo preferís.

En la parte superior de los ojos, apliqué la sombra Parfait Amour, y la difuminé hasta lo que quedaba por rellenar con color, con la sombra Vellum de nuevo.

Repasé las líneas negras para intensificarlas de nuevo con el aquacolor y puse sombra negra encima para fijarlo.

Si os gusta, podeis poner cristales, purpurina, cualquier adorno que os guste. Yo no usé nada porque quería mantenerlo como un look simple para Halloween pero igualmente colorido.

Fotos, como siempre, un poquito más arriba.

Espero que os guste el post, nos vemos en el siguiente!
Lor.

miércoles, 2 de octubre de 2013

Mini Haul

Hi there!!

Well, today I was going to upload a "look of the day" but I lost every picture I took with my camera, so I will upload tomorrow a request that I got by twitter with a few eye looks to make up for not having one today =).

Yesterday I went  to do some shopping, but just a pair of things, and I ended up my tiny shopping moment with a gift!

First of all, I always have this fight in the makeup field, and is to find something that last more than 20 minutes in my waterline. So I went to MAC and ask them about that (and apart of the fluidline in Blacktrack) they recommend me the Technakohl Liner in Graphblack (previously I´ve used some MAC  pencils like Smolder, Feline and Engrave, but any of them resist in my waterline) saying that is known for being one of the most resistant pencils by MAC, so I decided to give it a try. And I hope that really works!


Later I went to one of my favourite stores in Madrid, Burlesque. I went because I wanted to get some fake blood for Halloween, but I was looking for the one that has a very deep red color and I knew that there I could find it without any problem. So I got the one by Grimas called  Filmblood B of 100ml. It´s a lot of blood, believe me. And for creating some looks for Halloween I think is the perfect size, a bigger size of product would be very much.
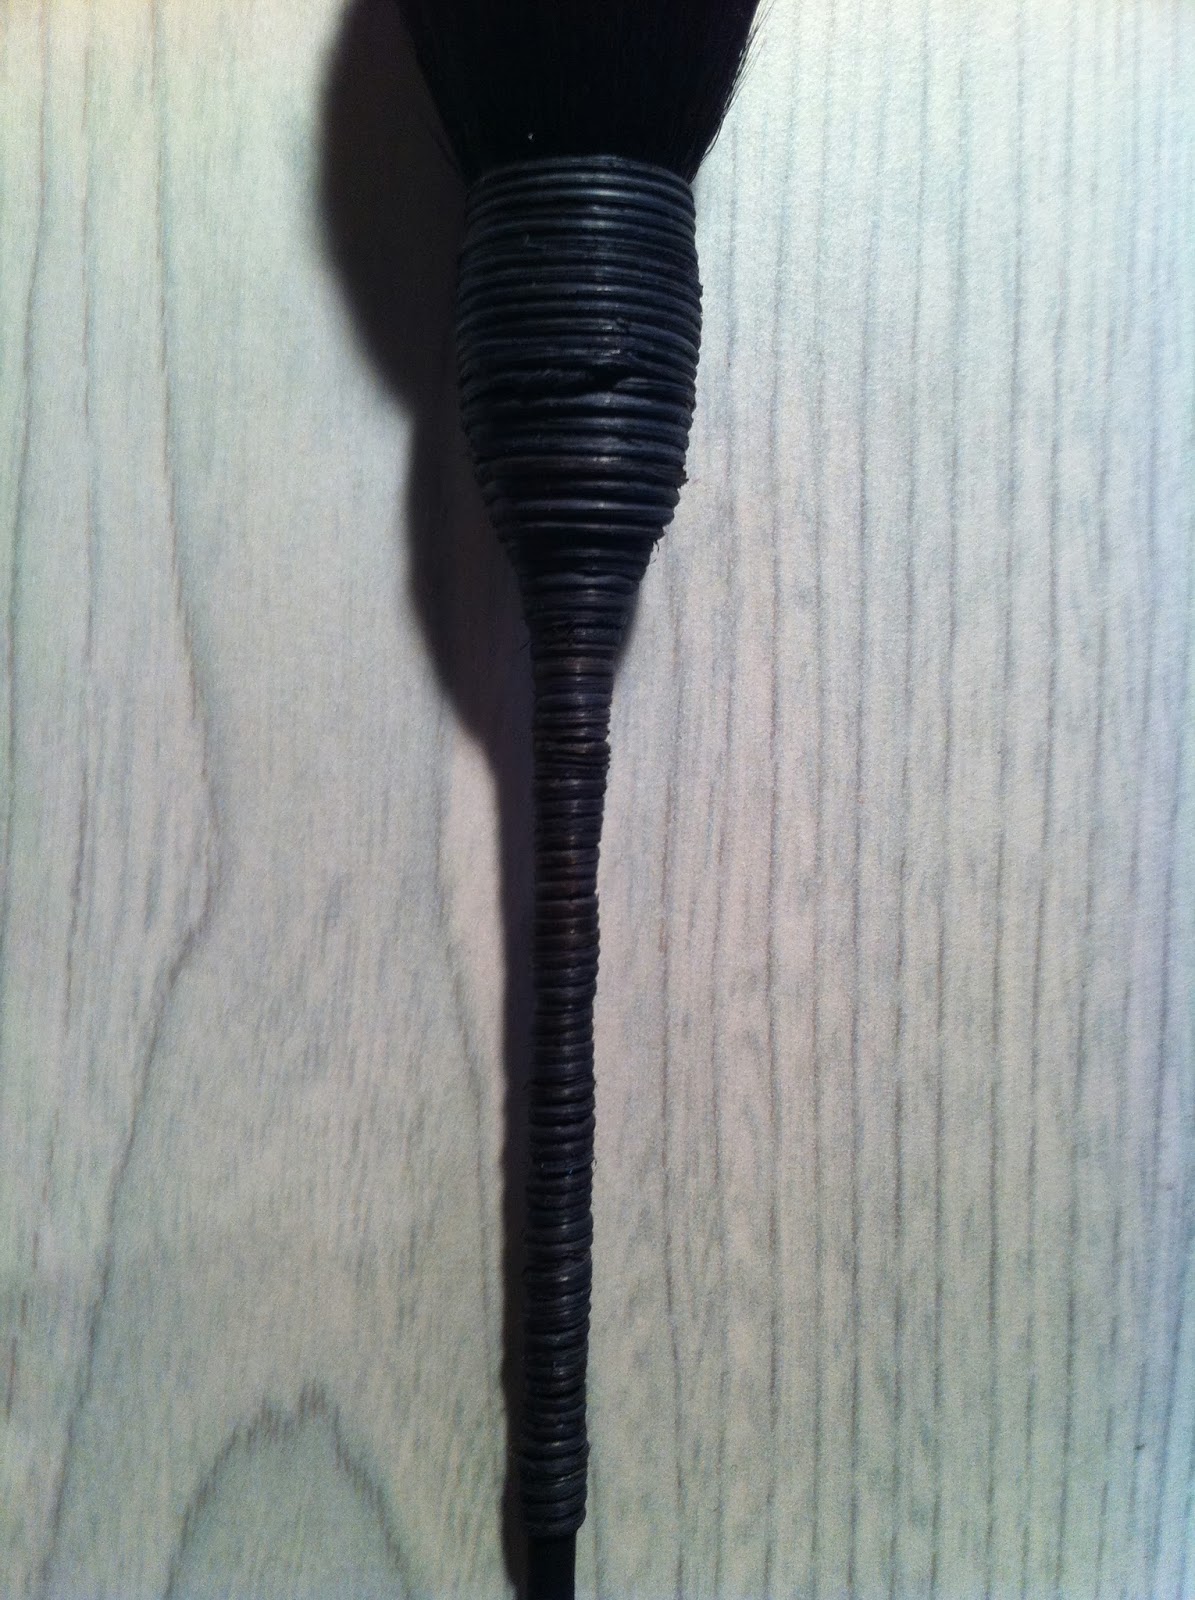
This guys that work in this store they´re soooo awesome and nice, and they gave me an incredible gift, a dupe for the Yachiyo brush by Nars. Is exactly the same, any difference at all! If you´re looking for this brush, I recommend you to check their facebook page, because they have a set of three brushes that looks amazing! The brush is so light in the hand, the hairs are so soft and the handle is not as uncomfortable as I thought it would be, I am extremely happy with this brush.


Today, after watching the September Favourites video by Sharon Farrell (here I leave you the link) I decided to get the long lasting eye pencil by Essence in "Bling Bling. I really loved the color on the video, but when I went to the store, I loved it more! And it was just 1.99€, so I didn´t think it so much and took it. Tomorrow I will test it in one of the looks that I want to do, so I´ll tell you about my first impression.


So this is all for today, hope you like the post!

See you on the next one,
Lor.

-----------------------------

Hola a todos!

Hoy iba a subir el look del día, hice las fotos con mi cámara, y cuando iba a descargarlas al ordenador, habían desaparecido... Así que en compensación, mañana subiré varios looks (por una petición que tuve en twitter sobre un look) por no haber subido uno hoy.

La verdad que mi pequeño shopping moment acabó muy bien, porque me hicieron un regalo increíble!

Primero hice una visita a MAC. Siempre he tenido la pelea de encontrar un producto que aguante en mi línea interior de pestañas por más de 10 minutos. Les pregunté sobre las posibles opciones que tenía, y a parte del Blacktrack (el fluidline que he usado durante casi dos años) me hablaron del Technakohl Liner en el color Graphblack, que es de los más populares por ser muy resistente (previamente a este he usado Feline, Smolder y Engrave). Espero que realmente sea bueno y aguante mas de 10 minutos, o si no, tendré que darme por vencida.

Después hice una visita obligada a una de mis tiendas favoritas en Madrid, Burlesque. Como idea principal iba a mirar cositas para Halloween, sobre todo sangre falsa(de color rojo oscuro) que luego cuando se acerca mas la fecha es imposible encontrarla. Al final me decidí por la de Grimas "Fameblood B" de 100ml. Creo que hay versiones mas grandes del producto, pero creo que para crear unos cuantos looks para Halloween 100ml sobran.
Todos los que hayáis pasado por Burlesque sabéis que los chicos son muy amables y geniales, y ayer tuvieron el increible detalle de regalarme la imitación de la brocha Yachiyo de Nars, que la tienen disponible en la tienda. Es totalmente igual, así que si queréis esa brocha pero no pagar casi los 60€ que cuesta la original, esta os aseguro que es igual. De hecho tienen un set con tres brochas Yachiyo que os recomiendo que le echéis un ojo! La brocha me ha resultado increíblemente ligera, con un pelo suavísimo y un mango mucho mas cómodo de lo que yo esperaba. Estoy encantada con esta brocha, de verdad.

Hoy, después de ver el vídeo de favoritos de Sharon Farrell (aquí esta el link) decidí que iba a probar el lápiz dorado de Essence al que hace referencia, el long lasting eye pencil en "Bling Bling". En el vídeo se veía un color bastante bonito, pero en directo gana mucho mas! Y sólo por 1.99€, no he podido decir que no. Quiero utilizarlo en uno de los looks que tengo pensado hacer, así que os daré mi primera impresión sobre él mañana mismo.

Esto es todo por hoy, espero que os haya gustado el post!

Fotos de los productos arriba.

Nos leemos mañana,
Lor.