Well, we are very close to Halloween, so here I going to give you a tiny idea for a very easy Halloween look.
You will need:
Foundation: I really recommend you to use a very thick foundation, something for example like paint stick foundation, or any kind of full coverage foundation. But for this kind of looks, it´s so much better to use the paint sticks. The shade that I use is one tone more pale than my own skin color.
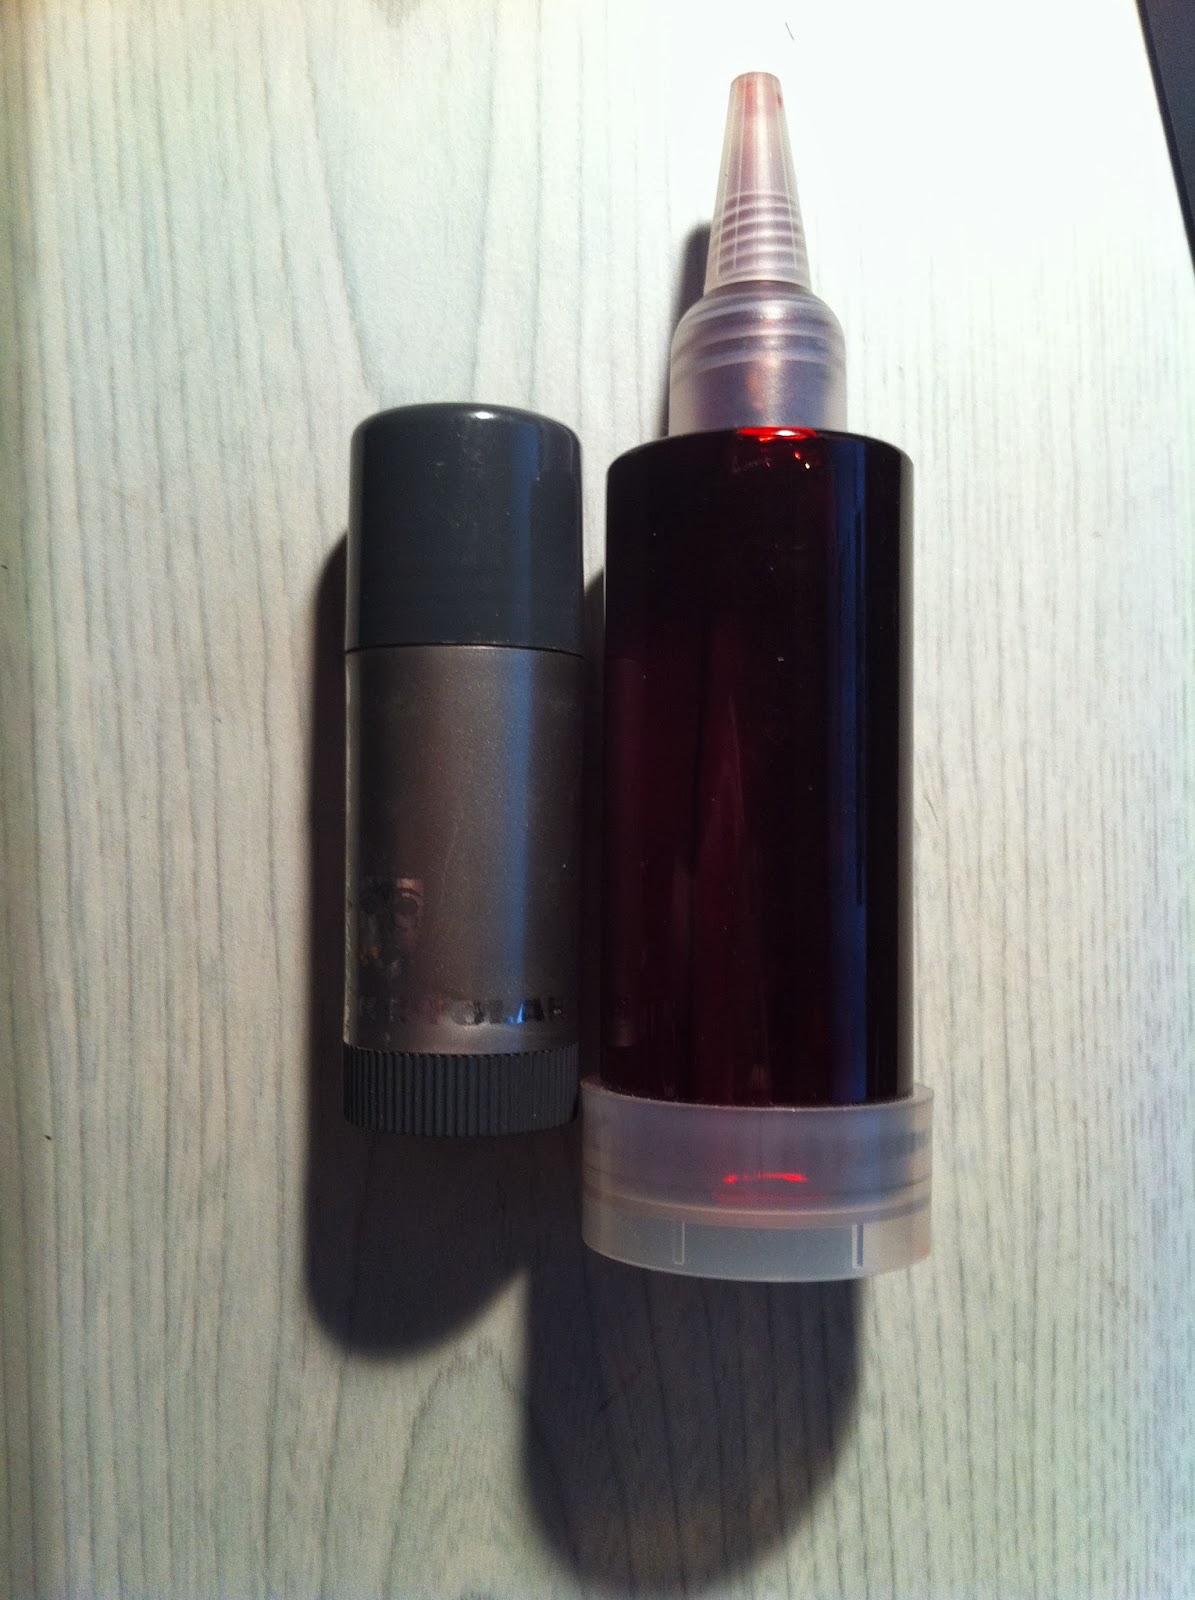
Blood: any kind of fake blood that you already have, the one that you prefer to use, on your choice. I like the Grimas Filmblood B, a dark red colored one. And some aqua color in black.


Sponge: you will need this to apply the blood and the paint stick.

Contour: I used for creating some dark circles some red, purple and turquoise eyeshadow, and some brown to contour the face.


Loose podwer: to set everything.


A palette. This is optional, but very comfortable for putting the blood. And some brushes, of course!


To start the look, I put some of my paint stick in my palette, and with a damp latex sponge I started applying it all over my face. I took my time doing this, because I wanted to cover all my skin very well and don´t let show any pore at all. Then I set everything with my Prep and Prime podwer by MAC.
After that, with a big eyeshadow brush and Omega eyeshadow by MAC, I started contouring the face. I did a heavy contour on the cheeks, my temples, I put also some of this eyeshadow in my under eye area, I did some contour on my nose too and my jaw line.
Then, with a small shadow brush, I took a little of some red eyeshadow and applied it on my lower and upper lash line, to look sick. With was left of the red eyeshadow on the brush, I applied on the under eye too. I clean that brush, and took some Figure 1 eyeshadow by MAC, and I started to create a very deep dark circle, and after cleaning that brush, I took some Robin´s Egg eyeshadow by MAC and put it on top of the purple, to make the dark circle even more deep. I put this same colors going up a little bit from the tear duct and the side of the nose, as you can see on the picture. This will create an illusion of darkness on the eyes.
In case you don´t want to put blood on your face, another option is to put some purple eyeshadow on your lips (don´t forget to cover your lips with the foundation) and some turquoise (always depending on your skin tone, I need the turqouise, because just with purple it doesn´t look so zombie at all) and you will get a Zombie look.
If you put blood, here´s how I did it. I put some blood on my palette, and then, with a sponge, I started dabing it with small touches, and for creating the effect of the blood falling down my chin, what I did was to take the blood bottle and let some drops fall into the skin; and later fix that with the sponge. I put some black cream to create the effect of dirt.
Of course you can add some zombie contact lenses, but I don´t have it... so it´s more like a natural zombie finish.
And with this, you will be ready to go to the street and start looking for some yummy brains.


Hope you like the post, and see you on the next!
Lor.
-------------------------------
Hola a todos!!
La verdad es que Halloween ya esta muy cerca, así que os voy a dar una idea para un look muy simple y fácil de hacer.
Necesitareis:
Base de maquillaje: Os recomiendo que para este tipo de looks, preferiblemente uséis paint stick, o alguna base que tengáis que se asemeje al acabado que deja el paint stick. El tono que use en este look es un tono mas claro que mi color de piel.
Sangre: cualquier sangre falsa que tengáis, os servirá, esto lo dejo a vuestra elección. Yo usé para este look la Filmblood B de Grimas. Y aqua color negro.
Esponjillas: las necesitareis para aplicar la base y la sangre.
Contorno: Necesitareis una sombra marrón grisácea para el contorno y a parte, usé sombra turquesa, roja y morada.
Polvos sueltos: para fijar todo
Una paleta, que es muy cómoda para poner la sangre, pero no es necesaria si no la tenéis, y por supuesto las brochas!
Para empezar, cogí un poco de paint stick y lo puse en una paleta. Después, con una esponjilla húmeda (no demasiado mojada, porque si no el paint stick se embarra en la cara) fui aplicando la base por toda la cara. Me tomé mi tiempo, porque quería hacer desaparecer todos los poros, y crear una piel sin ninguna imperfección. Fijé todo esto con los polvos Prep and Prime de MAC (podéis usar cualquiera que tengáis, estos eran los que mas a mano tenía en ese momento)
El contorno lo hice con una brocha grande de sombra y la sombra de ojos Omega de MAC. Marqué bastante los pómulos y los laterales de la cara, también hice contorno en la nariz para hacerla parecer mas larga y marqué la mandíbula inferior bastante, para que pareciera mas cadavérico el look.
Con una brocha mas pequeña, también de sombra, apliqué sombra roja (Passionate by MAC) alrededor de los ojos y también añadí un poco de morado, para crear un efecto enfermizo (la sombra morada es Figure 1 de MAC). En la ojera, previamente había puesto un poco de la sombra Omega, y después fuí añadiendo rojo y morado, hasta que quedó una ojera muy pronunciada y añadí un poco de turquesa. Esa misma mezcla de colores lo subí por encima del lagrimal y un poco en el lateral del ojo, para crear una ojera totalmente profunda.
Si no queréis aplicar sangre, lo que podéis hacer es cubrir los labios con el maquillaje también y fijar con polvo. Después aplicáis encima sombra morada, y ya tendríais unos labios de muerto. En mi caso necesité aplicar un poco de turquesa para crear el efecto amoratado que yo buscaba.
En caso de que sí que querais sangre, aqui os digo como lo hice: igualmente apliqué la base para cubrir los labios y fijé con polvos. Después, con la esponjilla fuí aplicando la sangre a toques. Para crear el efecto de la sangre cayendo hacia mi barbilla, lo que hice fue coger la botella de la sangre y dejar caer directamente unas cuantas gotas, y después las iba colocando con la esponjilla a mi gusto. Dí unos cuantos toques de negro para crear el efecto de sangre sucia.
Por supuesto, podeis rematar el look con unas lentillas de zombie, pero como no tengo, digamos que este es un acabado mas natural.
Y con todo esto, ya estareis preparados para salir a la calle e ir en busca de sabrosos cerebros! XD
Fotos como siempre, más arriba.
Espero que os guste y nos vemos en el siguiente post!
Lor.