Hoy vengo con un look que creo que lo habré usado millones de veces, pero que es uno de mis grandes favoritos, un ojo ahumado en negro. Pero hoy me sentía un poco colorida, y he decidido que quería darle un poco de color, así que he añadido dos tonos diferentes de azul.
Como es muy simple, el post va a ser corto, pero os enseño todos los productos que usé para hacer este look.
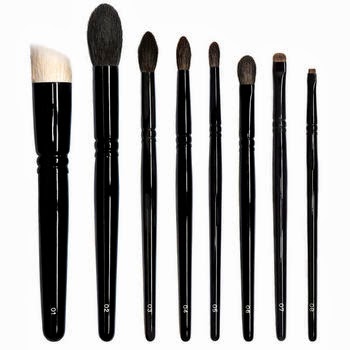
He aplicado la base como siempre, esta vez usé la Face and Body de MAC y la brocha Buffing Brush de Real Techniques. Le dí forma a las cejas, y apliqué polvos compactos por toda la cara menos la zona donde suelo aplicar el corrector (esa zona la deje libre de cualquier producto, ahora mismo entro en detalles).
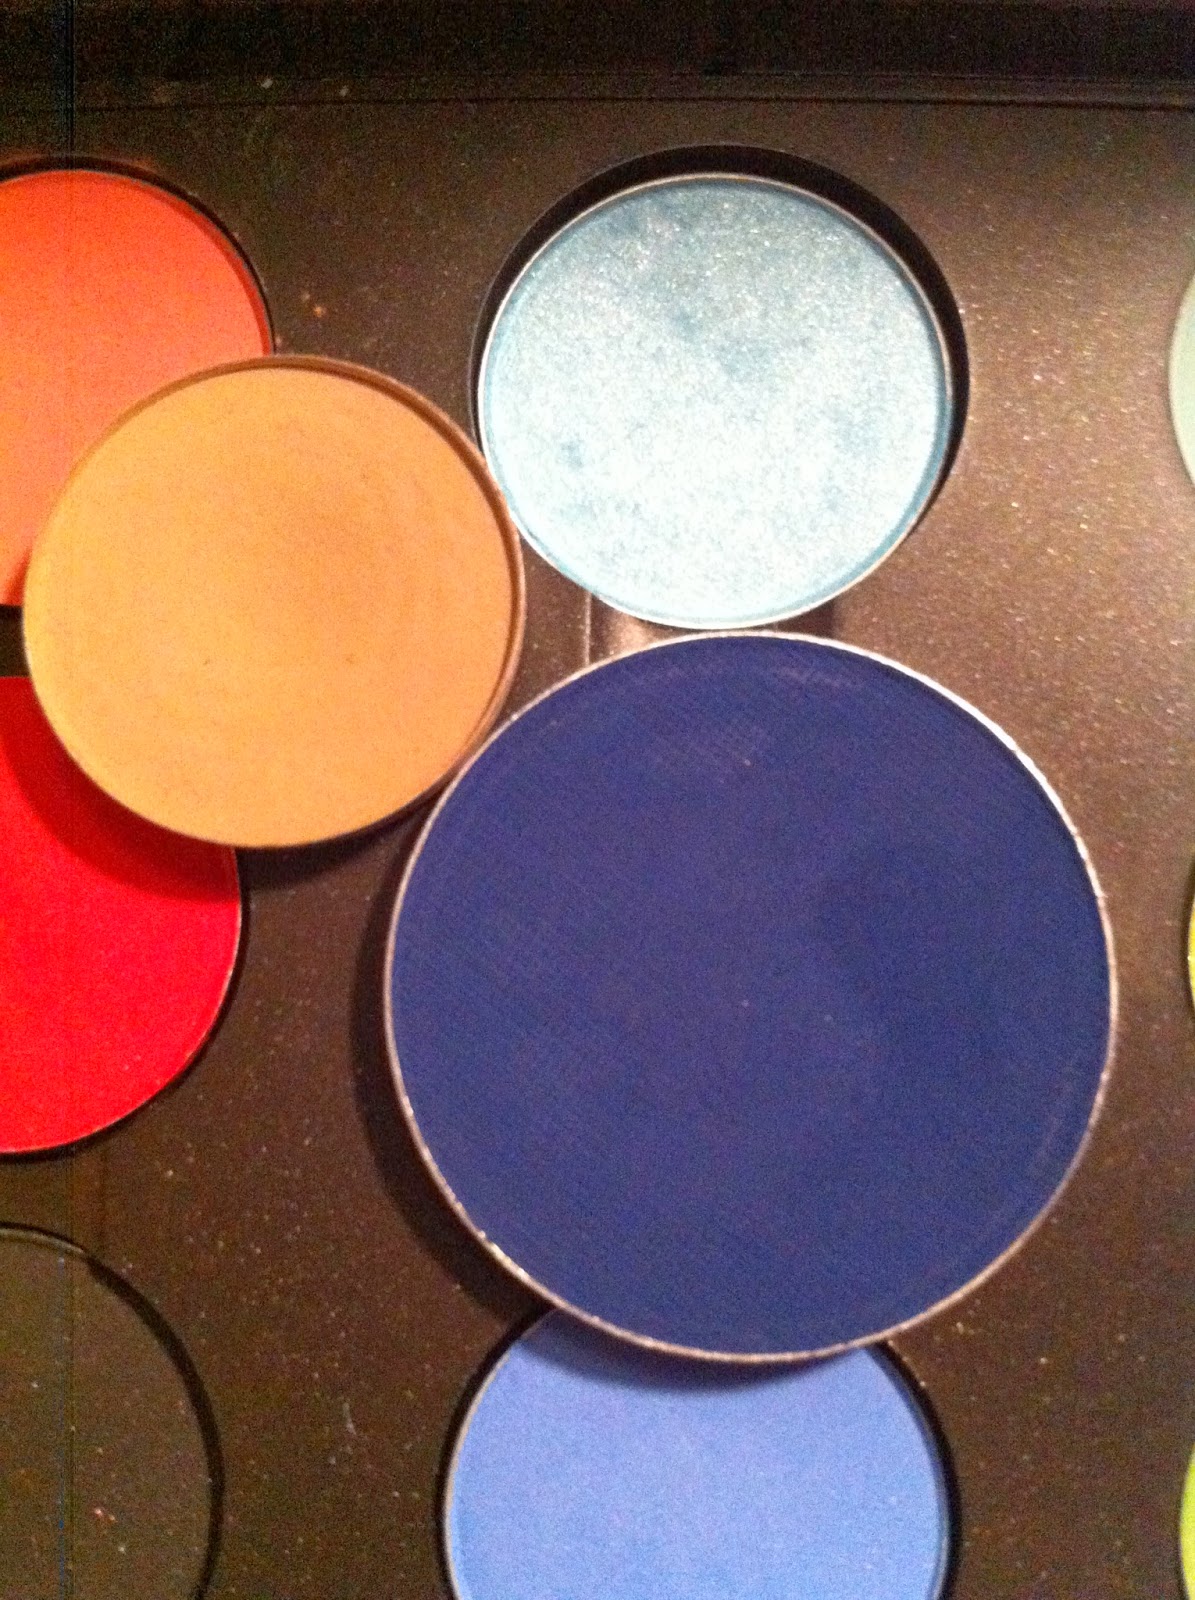
Después, para crear una base para el ojo ahumado, me gusta usar el eyeliner en gel (el que uséis os vale, yo tengo el de Maybelline). Lo apliqué en el parpado móvil sin superar la cuenca. Para fijarlo, usé la sombra Blackout de la paleta Naked 2 (es uno de mis negros favoritos) y difuminé los cortes. Después en el extremo exterior del ojo apliqué la sombra Night Blue de Kryolan y de nuevo difuminé para evitar cortes. En el lagrimal apliqué una sombra de MAC (creo que es de edición limitada) que es Sky Blue. En la línea inferior de pestañas apliqué eyeliner también y mezclé la sombra negra y azul. Para terminar los ojos, difuminé con la sombra Omega por encima de la cuenca, y apliqué Shroom para iluminar la ceja (ambas sombras de MAC). Un poco de máscara y los ojos estaban listos, sin olvidarme después de aplicar el corrector. No apliqué el corrector antes, porque cuando se usan sombras tan oscuras, siempre suelen caer un poquito a la ojera. De esta manera es mas fácil limpiar cualquier resto de sombra que haya en vez de tener que desmaquillar y volver a aplicar todo de nuevo (la sombra negra y azul, donde caigan, ahí se quedan y no se mueven)
(De arriba a abajo: Sky Blue textura Frosted, Omega en textura Matte y Night Blue en textura mate/ From top to bottom: Sky Blue Frosted texture, Omega Matte texture and Night Blue Matte texture)
En el resto de la cara, ha sido muy simple: un poco del iluminador de Catrice, colorete en tono melocotón (Stay By Me de MAC) y un lipgloss de Urban Decay de la linea Lip Junkie, color Jilted.
Y este es el resultado final.
(el color de mi piel varía mucho de una foto a otra, pero las tome en diferentes angulos =S/ My skin color looks very different from one picture to other, but I took the pictures on different angles!)
En mi instagram siempre están todas las fotos, por si os queréis pasar =).
Espero que os haya gustado, nos leemos en el próximo post! Que tengáis un muy buen finde!
Lor.
-----------------------------------------------
Hello everyone!!
Today I´m here with one of my favourite types of eye makeup, smoky eye. I adore to wear smoky eyes (most of all in black or purple) and it´s so easy to do! This time, I wanted a black smoky eye, but with a little bit of blue.
I´m going to show you how I did it:
Foundation routine was the same as always, Face and Body and Pressed Powder to fix it (but not on the under eye area, that was free of any product). Then I did my eyebrows, and let´s go for the eyes.
As a base for this look I used my gel eyeliner by Maybelline (whichever you have, will work) all over the lid and not passing the crease area, and then on top I applied Blackout by Urban Decay. On the outside corner of my eye I used Kryolan eyeshadow in Night blue, and on my tear duct Sky Blue by MAC (I think this one was limited edition). Of course, I blended the colors with the skin, and to avoid any possible harsh line, I used Omega by MAC to blend even more. On my eyebrow, as highlighter I used Shroom by MAC. On the lower lash line I did the same process: gel eyeliner, and on top the black and blue eyeshadow mentioned before. Don´t forget the mascara, and the concealer once you´re done with the eyes and cleaned any fallout of eyeshadow.
The rest of the face was so simple, some highlighter on the cheeks by Catrice, peachy blush by MAC (Stay By Me) and Lip Junkie lipgloss by Urban Decay in Jilted.
The final result, and more photos, above.
Hope you like it, and see you on the next post! Have a fantastic weekend!
Lor.


.jpg)


